Requirment – Silent Installation of Weblogic and Webcenter portal
Implementation-
Silent-Mode Installation – Silent-mode installation is a way of setting installation configurations only once and then using those configurations to duplicate the installation on many machines. During installation in silent mode, the installation program reads the settings for your configuration from an XML file that you create prior to beginning the installation. The installation program does not display any configuration options during the installation process. Silent-mode installation works on both Windows and UNIX systems.
With previous releases of WebLogic Platform, you have the option of running the Configuration Wizard as part of the silent installation process. In WebLogic Platform 8.1, the Configuration Wizard cannot be run, automatically, with the WebLogic Platform installation program; it must be run separately. However, you can create a simple shell script or command file that sequentially runs silent mode installation and silent mode configuration. For more information about running the Configuration Wizard in silent mode, see Creating WebLogic Configurations Using the Configuration Wizard at http://download.oracle.com/docs/cd/E13196_01/platform/docs81/confgwiz/index.html.
-> Install the Weblogic
-> Download the WebLogic Installer … and put it in some directory
-> Create a silent.xml file that defines the configuration settings normally entered by a user during an interactive installation process, such as graphical-mode or console-mode installation. Here is the silent-wls10.3.6.xml file, see below
<?xml version="1.0" encoding="UTF-8"?>
   <bea-installer>
     <input-fields>
       <data-value name="BEAHOME" value="\Oracle\Middleware_Home" />
       <data-value name="WLS_INSTALL_DIR" value="\Oracle\Middleware_Home\wlserver_10.3" />
       <data-value name="COMPONENT_PATHS"
        value="WebLogic Server/Core Application Server|WebLogic Server
/Administration Console|WebLogic Server/Configuration Wizard and Upgrade
Framework|WebLogic Server/Web 2.0 HTTP Pub-Sub Server|WebLogic Server/WebLogic
JDBC Drivers|WebLogic Server/Third Party JDBC Drivers|WebLogic Server
/WebLogic Server Clients|WebLogic Server/WebLogic Web Server Plugins
|WebLogic Server/UDDI and Xquery Support|WebLogic Server/Server Examples|Oracle Coherence/Coherence Product Files" />
       <data-value name="INSTALL_NODE_MANAGER_SERVICE" value="yes" />
       <data-value name="NODEMGR_PORT" value="5556" />
       <data-value name="INSTALL_SHORTCUT_IN_ALL_USERS_FOLDER" value="yes"/>
   </input-fields>
</bea-installer>
-> For Jar Installers:
Open a command prompt and start the installation by executing the below command.
java -jar wls1036_generic.jar -mode=silent -silent_xml=/path//silent.xml -log=/opt/softwares/Installation_silent.log
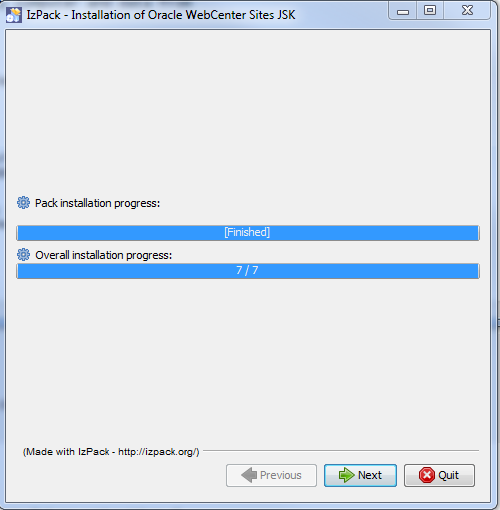
It opens up a new windows showing the installation progress.Check the install progress window and a successful install would display message like below
————————————————————————————————————————————-
-> Install the Webcenter Portal
->  cd /u01/software/ofm_wc_generic_11.1.1.8.0_disk1_1of1/Disk1
->  ./runInstaller -silent -responseFile /u01/software/scripts/custom_installtype_wcp11.1.1.8.rsp -jreLoc /u01/app/oracle/product/java_current/jre
Here is the custom_installtype_wcp11.1.1.8.rsp file.You need an response file to provide parameter while installation.
[ENGINE]

#DO NOT CHANGE THIS.
Response File Version=1.0.0.0.0

[GENERIC]

#Set this to true if you wish to specify a directory where latest updates are downloaded. This option would use the software updates from the specified directory
SPECIFY_DOWNLOAD_LOCATION=false

#
SKIP_SOFTWARE_UPDATES=true

#If the Software updates are already downloaded and available on your local system, then specify the path to the directory where these patches are available and set SPECIFY_DOWNLOAD_LOCATION to true
SOFTWARE_UPDATES_DOWNLOAD_LOCATION=

#Provide the Oracle Home location. The location has to be the immediate child under the specified Middleware Home location. The Oracle Home directory name may only contain alphanumeric , hyphen (-) , dot (.) and underscore (_) characters, and it must begin with an alphanumeric character. The total length has to be less than or equal to 128 characters. The location has to be an empty directory or a valid WebCenter Oracle Home.
ORACLE_HOME=/home/middleware/Oracle_WC1

#Provide existing Middleware Home location.

MIDDLEWARE_HOME=/home/middleware
#Application Server choices are WLS, WAS

APPSERVER_TYPE=WLS

[SYSTEM]
[APPLICATIONS]
[RELATIONSHIPS]
————————————————————————————————————————————-
-> Create database schemas via the RCU
Creating schema using silent instillation you provide password in txt file.Below command will create different schema.
 cd ofm_rcu_linux_11.1.1.8.0_disk1_1of1/rcuHome/bin
 ./rcu -silent -createRepository -databaseType ORACLE -dbUser sys
 -connectString localhost:1521:orcl  -dbRole SYSDBA
 -useSamePasswordForAllSchemaUsers -schemaPrefix DEV
 -component PORTLET -tablespace WP_REPO -tempTablespace TEMP
 -component MDS -tablespace WP_REPO -tempTablespace TEMP
 -component WEBCENTER -tablespace WP_REPO -tempTablespace TEMP
 -component ACTIVITES -tablespace WP_REPO -tempTablespace TEMP
 -f < passwordfile.txt
This will create 3 schema’s: DEV_PORTLET, DEV_MDS, DEV_WEBCENTER,DEV_ACTIVITES.
The passwordfile.txt file would contain, in order:
database_password
component1_schema_password
component2_schema_password
Happy weblogic/Webcenter installation with Vinay Kumar in techartifact
