Change configuration file with webcenter portal.

For editing web.xml old solution will work for 11.1.1.7 but for 11.1.1.8 you can use this solution.You should use WebCenter Portal Server Extension.

< In this case you must create a new application using the new JDeveloper template: WebCenter Portal Server Extension. a href=”https://www.techartifact.com/blogs/wp-content/uploads/2015/08/1.png”>1

This template will create two projects (that can be named during the creation).

PortalExtension: To add custom code, task flows and beans to WebCenter Spaces.
PortalSharedLibrary: Similar to the former WebCenterSpacesExtensionLibrary; however, deployments are now done using JDeveloper Deployment tools and the versioning is managed by manually modifying MANIFEST.MF
Taking a look into PortalSharedLibrary it contains only a MANIFEST.MF file used for versioning of deployments.

​​2

Where are weblogic.xml and web.xml descriptor?

These files should be generated manually.

To create a weblogic.xml create it as New WebLogic Deployment Descriptor.

3

4


In case of web.xml create it as New Java EE Deployment Descriptor:

5

1


By default, web.xml and weblogic.xml will be part of the deployment. It shouldn’t be configured at the deployment profile.

Now deploy as shared lib in WC_Spaces. It will overwrite extens.spaces.webapp shared lib then restart server. Changes will reflect

Thanks. Happy Coding with Vinay.

Custom session timeout warning popup in Webcenter portal 11.1.1.8 using jquery

Hi All,

Requirement – To show customised session time out warning popup in webcenter portal builder.

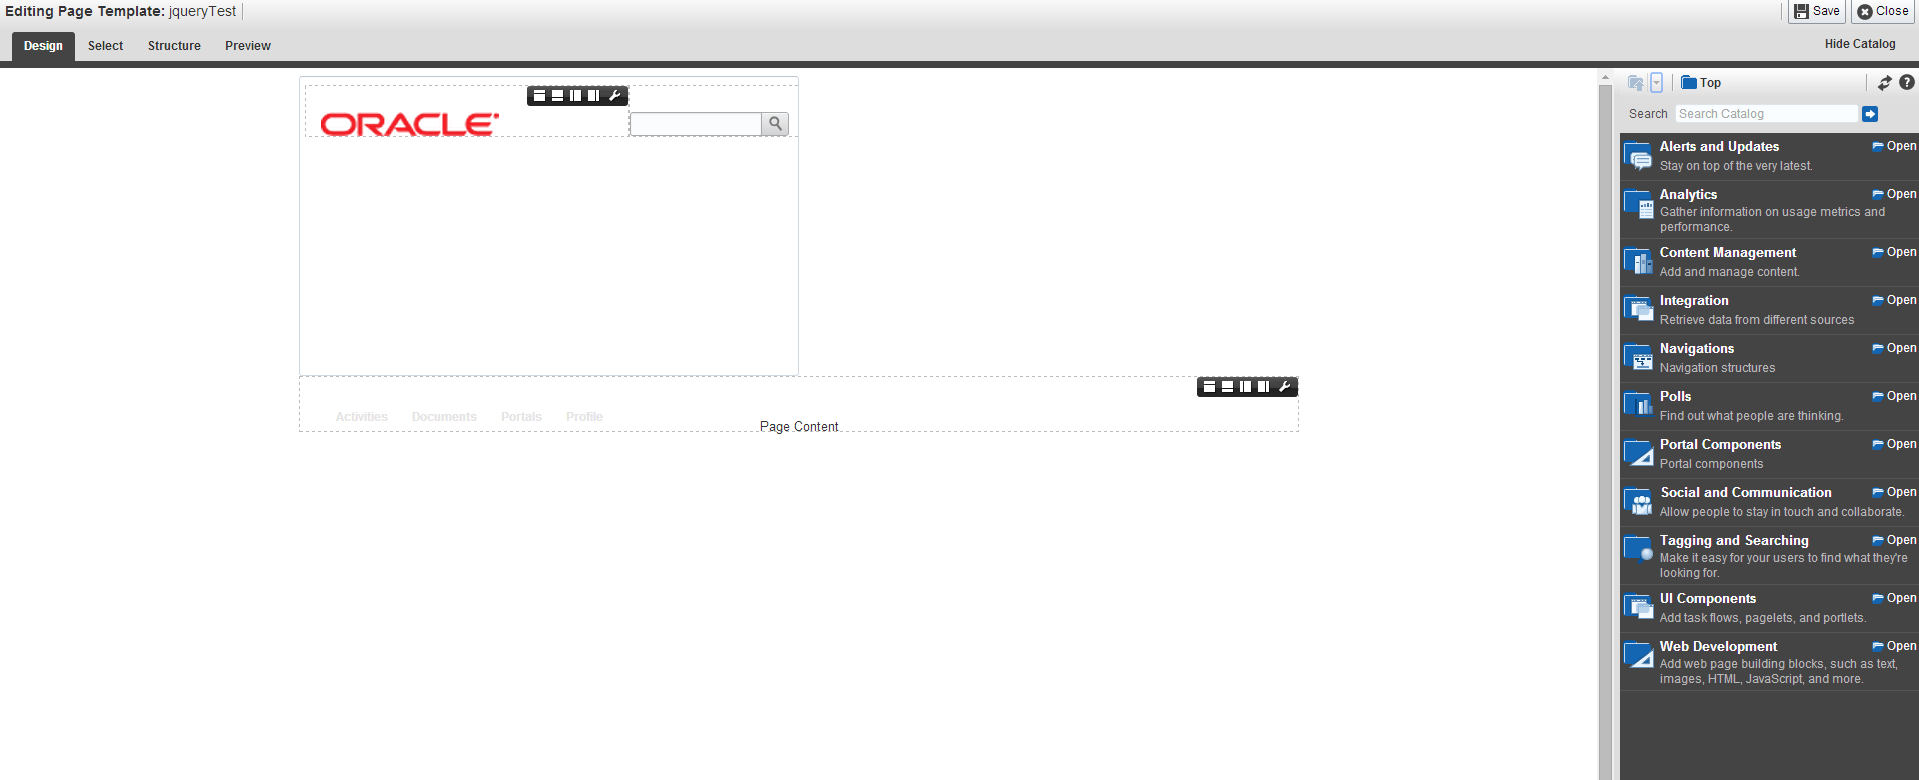
Solution- Edit your template-

editpagetemplate

In the composer, open web development and add an html markup anywhere in the template.
Edit that markup and add below code as the value.

Below snippet uses normal javascript.

<!doctype html>
<html lang="en">
<head>
<meta charset="utf-8">
<title>Dialog Box Witout Close Button</title>


</head>
<body>
<div id="dialog"  title="Dialog Title"></div>
<script>
var resetTime_int;
function resetTimer(){
    if(resetTime_int) window.clearTimeout(resetTime_int)
    resetTime_int=window.setTimeout(function (){
    if(document.getElementById('dialog').innerHTML = 'You have ' + (timeoutCount * 3000)/1000 + 'seconds until timeout' ;)     
    location.reload()
    }, 1000*60*2)
}

resetTimer()
document.onmousemove=resetTimer
document.onkeyup=resetTimer
</script>
</body>
</html>

html

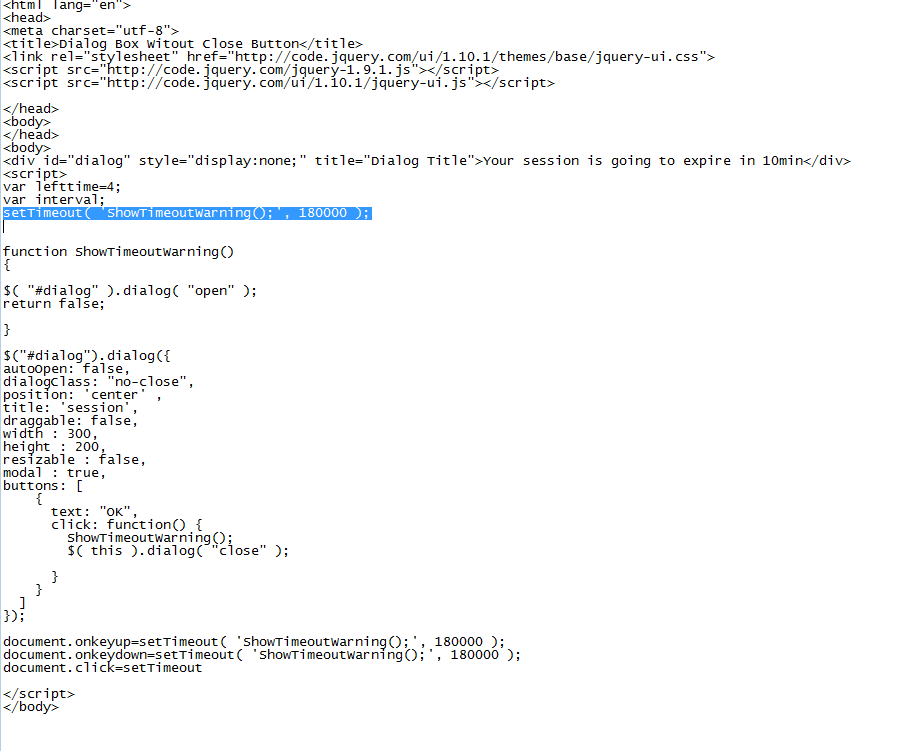
Following snippet with Jquery

<!doctype html>
<html lang="en">
<head>
<meta charset="utf-8">
<title>Dialog Box Witout Close Button</title>
<link rel="stylesheet" href="http://code.jquery.com/ui/1.10.1/themes/base/jquery-ui.css">
<script src="http://code.jquery.com/jquery-1.9.1.js"></script>
<script src="http://code.jquery.com/ui/1.10.1/jquery-ui.js"></script>

</head>
<body>
</head>
<body>
<div id="dialog" style="display:none;" title="Dialog Title"></div>
<script>
var lefttime=3;
var interval;
interval = setInterval('change()',60000);


function change()
{
   lefttime--;
   if(lefttime<=2) {
$( "#dialog" ).dialog( "open" );
return false;

}
}
$("#dialog").dialog({
autoOpen: false,
position: 'center' ,
title: 'session',
draggable: false,
width : 400,
height : 200,
resizable : true,
modal : true,
});

JS

With jquery you can make it more beautiful with these dialog options.

Thats it. You can change the time to show popup for idle user.

Happy learning with Vinay in techartifact

Setting a WebCenter Maintenance Page

When you shutdown WebCenter, the apache weblogic mod takes over the control of error pages and shows:

Failure of server APACHE bridge:
No backend server available for connection: timed out after 10 seconds or idempotent set to OFF.

Let’s face it that’s not user friendly and needs to be replaced with a nice page.

Solution
You can set a custom error page following the steps below:

*if you haven’t got OHS_HOME, I recommend you set up this environment variable. The path should look similar to the below:
/apps/oracle/product/middleware/Oracle_WT1/instances/instance1/config/OHS/ohs1

First copy your custom html to the server.
Move the files to
$OHS_HOME/htdocs/
For example you have a file called
maintenance.html

Next modify the config file for the weblogic mod
nano $OHS_HOME/mod_wl_ohs.conf
within the Webcenter location add


LOCATION STUFF
ErrorPage http://[hostname]/maintenance.html

Now to test the change, restart OHS. (if you’re in clustered mode run with 1 spaces, 1 OHS only for now)
Stop Spaces.
Go to WebCenter home.
New html maintenance page displays.
Restart spaces in WLS console.
Spaces displays correctly.

Ensure you copy the files/change in every OHS if you’re in a clustered deployment.

——————————————————————————————————————–

You can set up the maintenance page when at the Web server level when the application is down in the App layer. Here is the reference for Oracle HTTP server, same you can do it for any other web server too..!!

You can achieve this by configuring an error page at the WebServer (part of web-tier).

For example, in the case of a Oracle HTTP Server (OHS), you could do the following:

1. Place your maintenance page at /config/OHS//htdocs.

For Example, /config/OHS//htdocs/errorPage500.html

2. Open the OHS httpd.conf located at /config/OHS/ in an editor and search for the string ‘ErrorDocument 403′ which can be seen as commented text. Next to the commented text line, add the below lines for configuring the Error

Pages (500 —> backend server unavailable, 403 —> forbidden request, 404 –> Resource Not available). For the below example, we had 3 html pages errorPage500.html, errorPage403.html and errorPage404.html are deployed in OHS htdocs.

ErrorDocument 500 /errorPage500.html
ErrorDocument 403 /errorPage403.html
ErrorDocument 404 /errorPage404.html

3. Save the changes to the httpd.conf file.

4. Restart OHS server

———————————————————————————————————————-

Maintenance page for weblogic server

In Apache httpd.conf file put the below , replace the /console with proper context root and same with the host and port no.


SetHandler weblogic-handler
WebLogicHost 192.168.50.57
WebLogicPort 7001
ErrorPage /maintain.html

Place your customized maintain.html in the Root directory.

Happy learning with Vinay in techartifact….