Requirment- How to upload a file in ADF mobile
Solution- ADF Mobile carries with it a similar set of declarative components, but what is missing is an easy way to upload a local file from the mobile device to a remote server. In ADF Faces one would use the
Setup:
Install JDeveloper 11g Release 2 (version 11.1.2.3 or above) along with Oracle ADF Mobile extension for JDeveloper. This can be done from Help Check for Updates and then either downloading the extension from Oracle or alternatively installing it from a local copy of the Extension Zip file.
Install Android SDK. Create a virtual device if you would like to deploy on an emulator or else you could also deploy directly to an actual Android device. Configure the ADF Mobile environment for Android from Tools ->Preferences->ADF Mobile-> Platforms.
Steps Involved
We will consider a simple business use case where the user is required to click a photograph with the device camera and upload it to a remote server.
Creating the application and task flow:
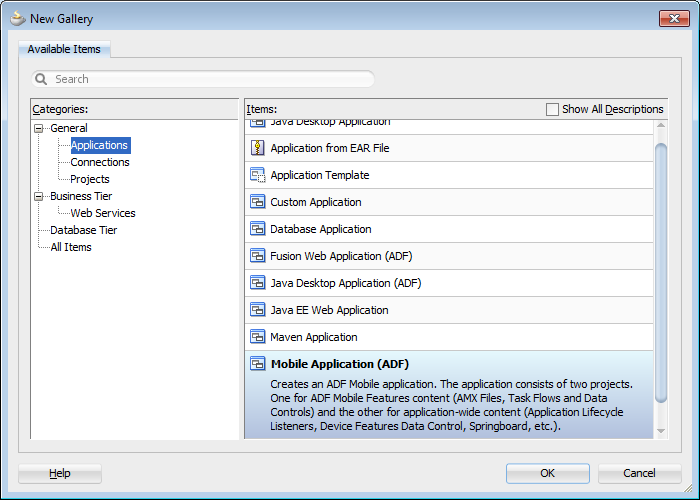
Open JDeveloper. Create a new application and select the type as Mobile Application (ADF)
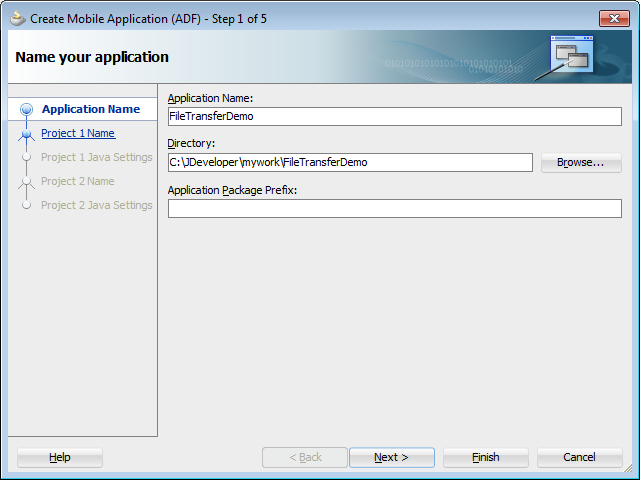
Click “OK”, name your application (for this example we will name it as “FileTransferDemo”), and then click “Next” on all subsequent dialog windows, accepting all default options, and finally click on “Finish”.
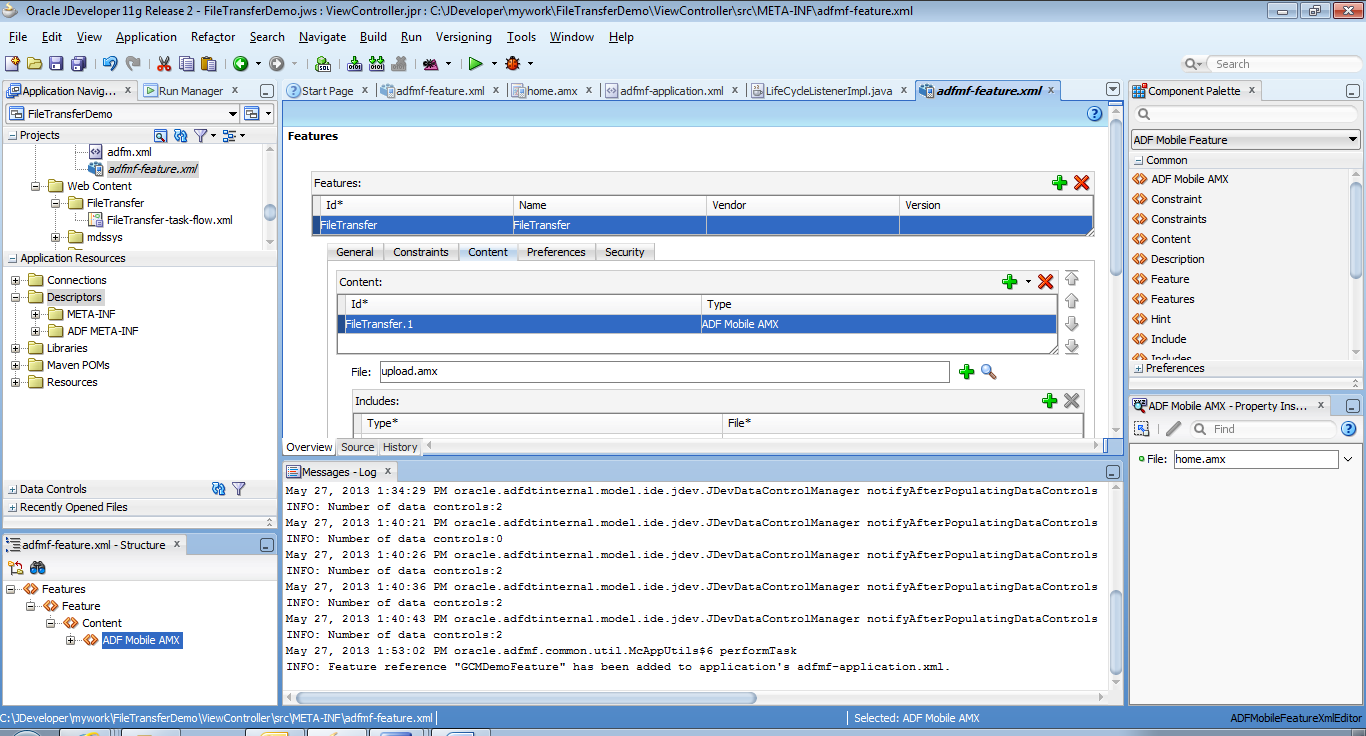
Create a new feature in the adfmf-feature.xml. Name it as “FileTransfer”. Create a new AMX page under the Contents tab and name it “upload.amx”.
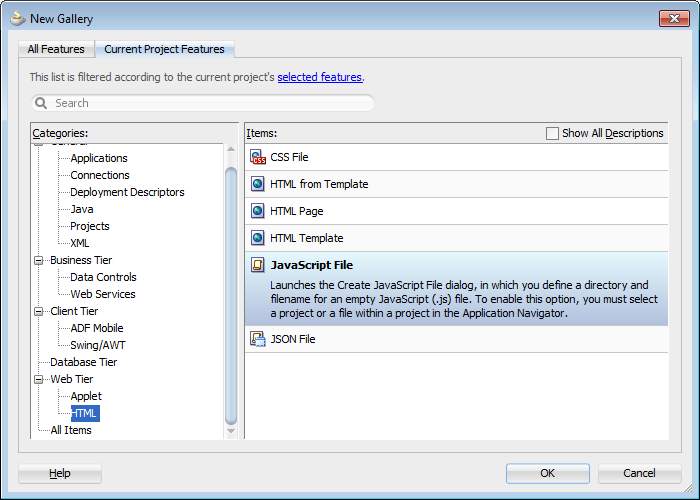
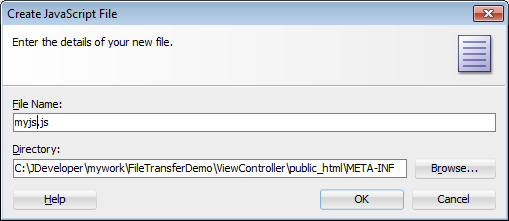
Create a new JavaScript file, name it “myjs.js”.
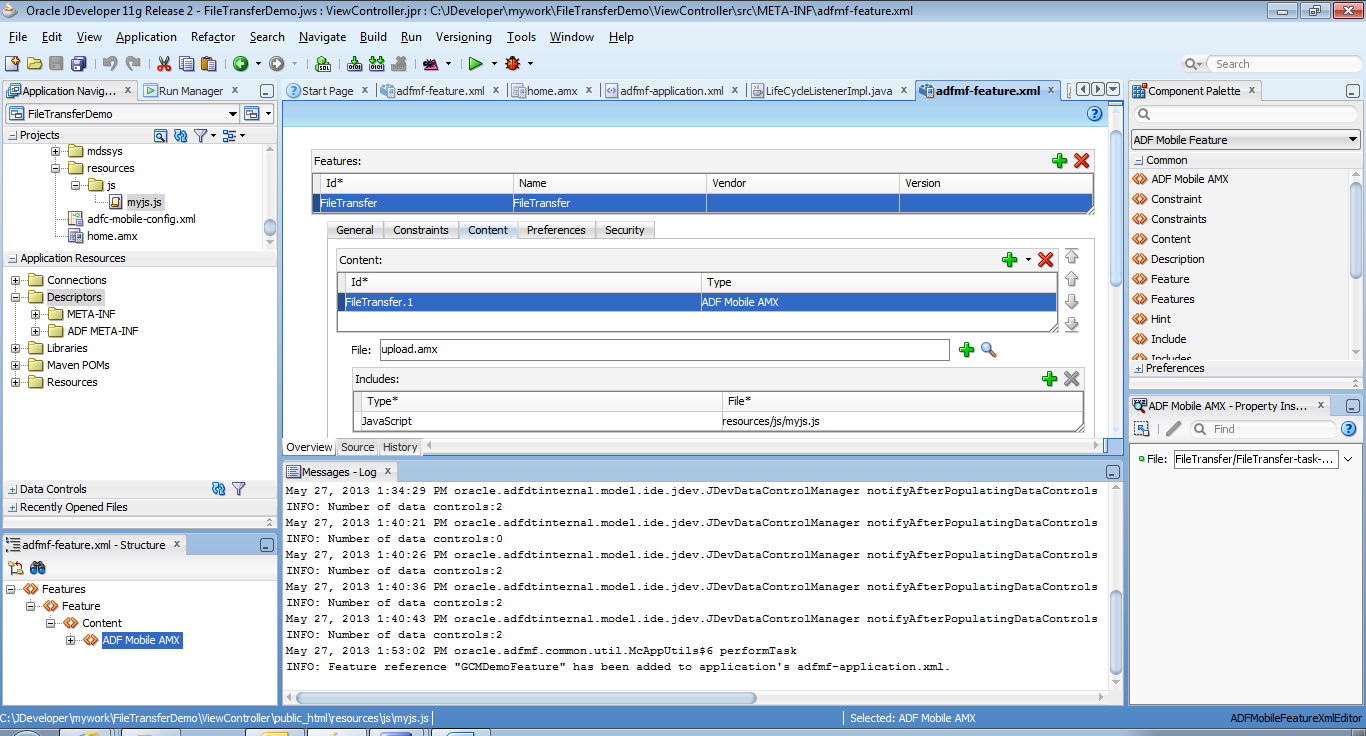
Include the myjs.js file in the current feature as shown below:
Now edit the JavaScript file as follows:
(function () {
    if (!window.application)
        window.application = {
        };

    snapUpload = function () {
        // take picture
        navigator.camera.getPicture(uploadPhoto, function (message) {
            alert("get picture failed");
        },
        {
            quality : 50, destinationType : navigator.camera.DestinationType.FILE_URI,
  sourceType : navigator.camera.PictureSourceType.CAMERA
        });
    };

    function uploadPhoto(imageURI) {
        var options = new FileUploadOptions();
        options.fileKey = "file";
        // extract filename from URI
        options.fileName = imageURI.substr(imageURI.lastIndexOf('/') + 1);
        options.mimeType = "image/jpeg";
        var params = {
        };
        options.params = params;
        var ft = new FileTransfer();
        // upload to server
        ft.upload(imageURI, encodeURI("http://10.87.194.23:7101/FileUpload-ViewController-
context-root/upload.jsp"), success, fail, options);
    }

    function success(response) {
        alert("File uploaded successfully");
        // log response
        console.log("Code = " + response.responseCode);
        console.log("Response = " + response.response);
        console.log("Sent = " + response.bytesSent);
    }

    function fail(error) {
        alert("An error has occurred: Code = " + error.code);
        // log error
        console.log("Upload error source " + error.source);
        console.log("Upload error target " + error.target);
    }
})();
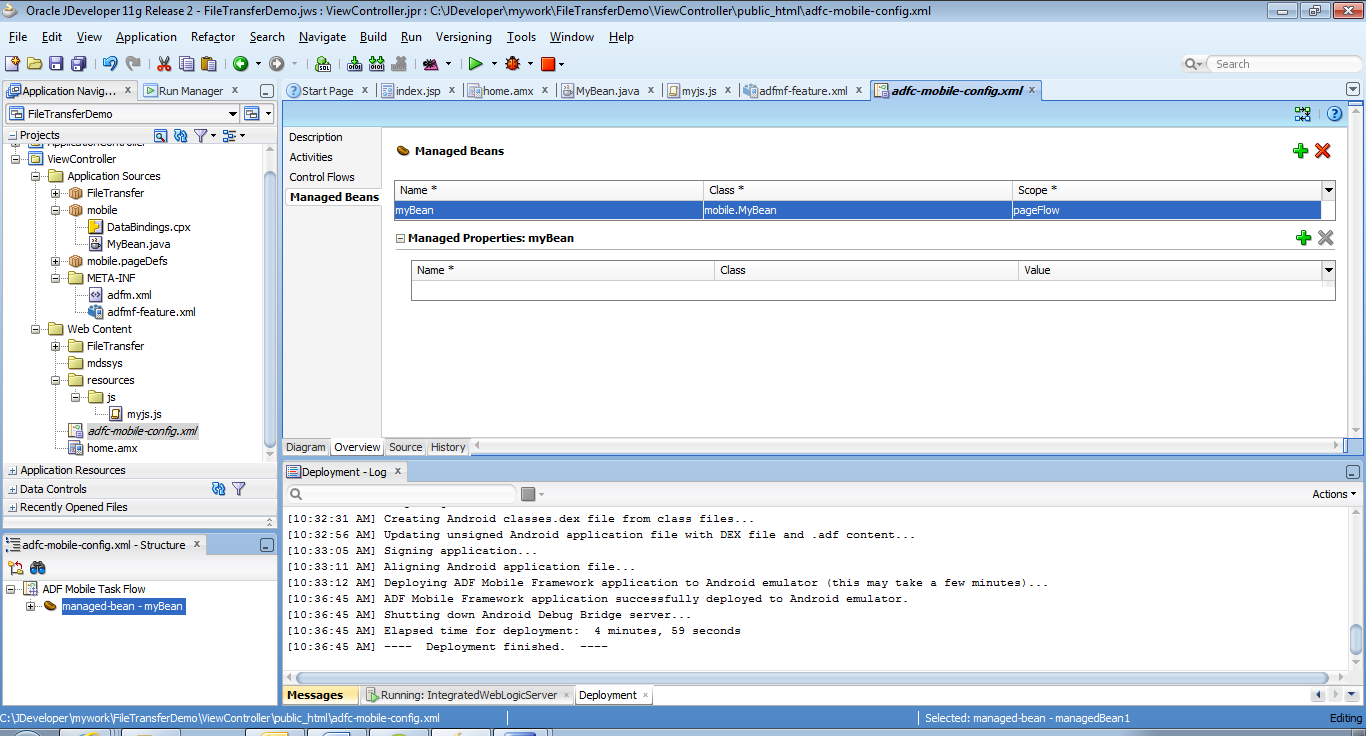
Now we will add code in the AMX page that will call the JavaScript functions. First create a bean with a method that will call the JavaScript function snapUpload, and register it as a managed bean in the adf-mobile-config.xml file as shown:
package mobile;
import oracle.adfmf.amx.event.ActionEvent;
import oracle.adfmf.framework.api.AdfmfContainerUtilities;

public class MyBean {

    public void snapUpload(ActionEvent ae) {	// action listener method
        // call JavaScript function to take picture and upload to server
        AdfmfContainerUtilities.invokeContainerJavaScriptFunction("FileTransfer",
"snapUpload", new Object [] {});
    }
}
Edit the upload.amx page as follows:
<?xml version="1.0" encoding="UTF-8" ?>
<amx:view xmlns:xsi="http://www.w3.org/2001/XMLSchema-instance" xmlns:amx="http://xmlns.oracle.com/adf/mf/amx"
          xmlns:dvtm="http://xmlns.oracle.com/adf/mf/amx/dvt">
  <amx:panelPage id="pp1">
    <amx:facet name="header">
      <amx:outputText value="Image Upload" id="ot1"/>
    </amx:facet>
    <amx:commandButton text="Upload Photo" id="cb1" actionListener="#{pageFlowScope.myBean.snapUpload}"/>
    </amx:panelPage>
</amx:view>
Basically, we are associating an action listener with a button that calls the JavaScript function from our Java code.
The server must be up and running for the file upload to work. The URL provided must point to a page that accepts a file whose contents are sent in the body of a POST request. In our case, we are using a JSP page, but any other web technology may be used like PHP, ASP.NET etc.
The following code lists our simple upload.jsp page:
<%@ page language="java" import="java.io.*" contentType="text/html; charset=ISO-8859-1" pageEncoding="ISO-8859-1"%>
<!DOCTYPE html PUBLIC "-//W3C//DTD HTML 4.01 Transitional//EN" "http://www.w3.org/TR/html4/loose.dtd">
<%
// get the content type information from JSP Request Header
String contentType = request.getContentType();
// content type should not be null and data passed from mulitpart/form-data is greater than // or equal to 0
if ((contentType != null) && (contentType.indexOf("multipart/form-data") >= 0)) {
	DataInputStream in = new DataInputStream(request.getInputStream());
	// get length of the data content
	int formDataLength = request.getContentLength();
	byte dataBytes[] = new byte[formDataLength];
	int byteRead = 0;
	int totalBytesRead = 0;
	// read bytes while available
	while (totalBytesRead < formDataLength) {
		byteRead = in.read(dataBytes, totalBytesRead, formDataLength);
		totalBytesRead += byteRead;
	}
	String file = new String(dataBytes);
	// get filename for saving
	String saveFile = file.substring(file.indexOf("filename=\"") + 10);
	saveFile = saveFile.substring(0, saveFile.indexOf("\n"));
	saveFile = saveFile.substring(saveFile.lastIndexOf("\\") + 1,saveFile.indexOf("\""));
	int lastIndex = contentType.lastIndexOf("=");
          // get boundary delimiter from header
	String boundary = contentType.substring(lastIndex + 1, contentType.length());
	int pos;
	// locate start and end positions of file data within request
	pos = file.indexOf("filename=\"");
	pos = file.indexOf("\n", pos) + 1;
	pos = file.indexOf("\n", pos) + 1;
	pos = file.indexOf("\n", pos) + 1;
	int boundaryLocation = file.indexOf(boundary, pos) - 4;
	int startPos = ((file.substring(0, pos)).getBytes()).length;
	int endPos = ((file.substring(0, boundaryLocation)).getBytes()).length;

	// create a new file with the same name as source and copy the file contents to it
	FileOutputStream fout = new FileOutputStream(saveFile);
	fout.write(dataBytes, startPos, (endPos - startPos));
	fout.flush();
	fout.close();

%>
<br></br>
<table border="2">
    <tr>
        <td>
            <b>You have successfully uploaded the file by the name of:</b>
            <%=new File(saveFile).getAbsolutePath()%>
        </td>
    </tr>
</table>
<%
} // end if
%>
Finally, deploy the application to an Android device or emulator using the Application Deploy menu.
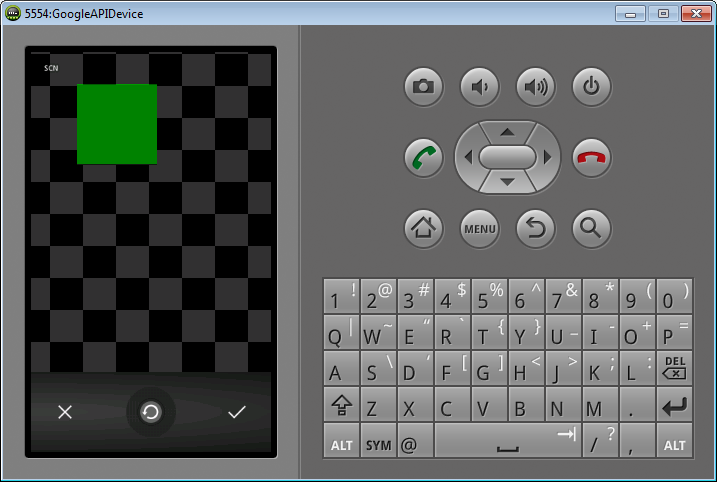
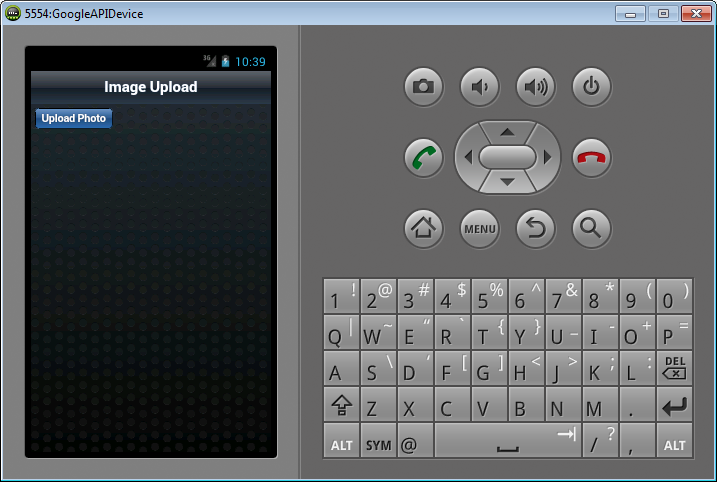
Tapping on the “Upload Photo” button opens up the device camera using which you can snap a picture.
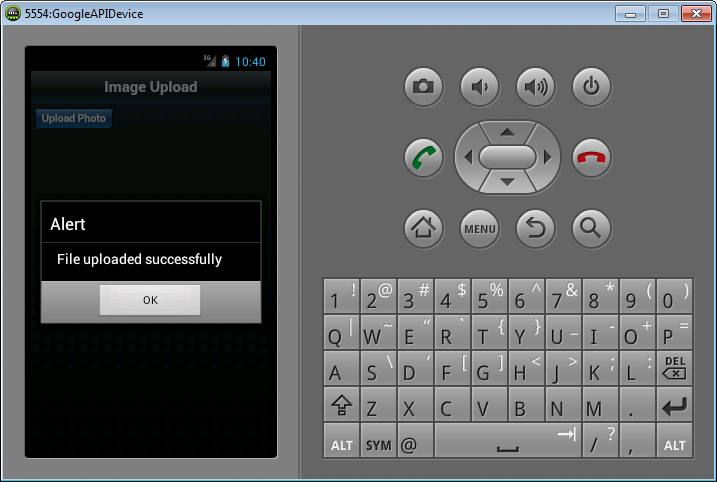
After you have clicked the photo the file is uploaded to the server. Upon successful upload the user is alerted accordingly.
Looking at the log file “FileTransferDemo.txt” under the sdcard root you can see the response code, the HTML response from the server and the number of bytes transferred has been logged. You can view the log file by typing “file:///sdcard/FileTransferDemo.txt” in the address bar of the device browser.
Notes
Using PhoneGap/Apache Cordova it is possible to upload any kind of file by simply changing the URI and the MIME type. For a better user experience we could integrate a file browser to locate and select our desired file from the device’s local file system. For a demonstration on using a filesystem browser in ADF
At the server side we have used a very simple implementation of an upload page. However, depending on requirements this upload page might need to be able to read one or more parameters and involve other complexities. Typically, if we are leveraging Apache and JEE technology to host our server it is often a popular choice to use Apache HttpClient or HttpComponents libraries.
References
1. Oracle Fusion Middleware Mobile Developer’s Guide for Oracle Application Development Framework (http://docs.oracle.com/cd/E35521_01/doc.111230/e24475/toc.htm)
2. PhoneGap API Documentation (http://docs.phonegap.com/en/1.0.0/index.html)
3. Uploading Single File by Using JSP (http://www.roseindia.net/jsp/file_upload/Sinle_upload.xhtml.shtml)
Happy ADF Mobile learning with Vinay Kumar in techartifact…..
